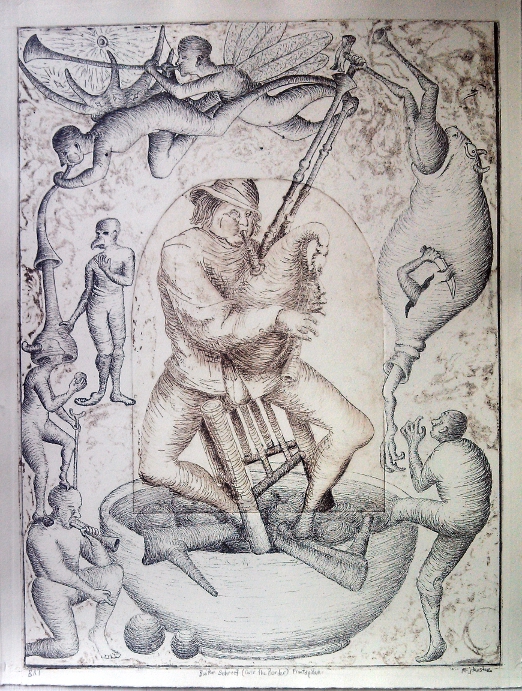
2007
Mixed etching and Monotype, printed from 3 plates, 12"x16"
NOTE: also include select APs - paper towels, noise with color.
This was a final project for my Printmaking 1 class at the University of Maine. The assignment was to create an edition of prints using two or more techniques used earlier in the semester. I don't remember now (because I'm putting together this page several years later) but using a printing plate from earlier in the semester may have also been part of the assignment.
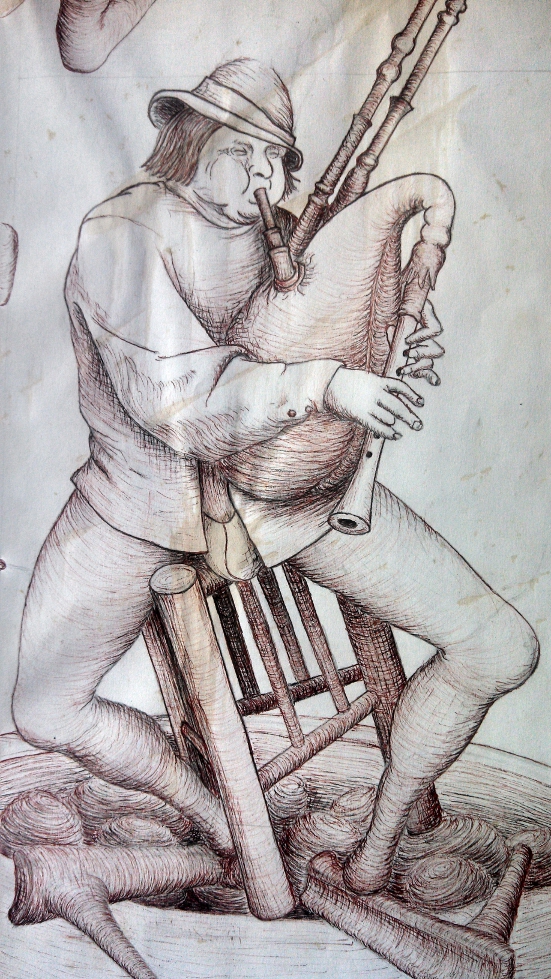
This print was made by printing three plates onto the same paper. One plate, the central piper figure, was one of my first test etchings from early in the semester. The plate was copper with Future Acrylic Floor sealant used as a resist. It was etched in Ferric Chloride and tonal gradations were added later with spit biting on an aquatint ground. The surrounding figures and other things started as a drawing which was digitally mirrored and photo copied to acetate. The acetate image was then used as a negative for photo etching the image to ImagOn film which was laminated to plexiglass. A third plate, also photo etched (with ImagOn again, this time using washes of old copier toner thinned with denatured alcohol), was used to create the odd textures in the background.
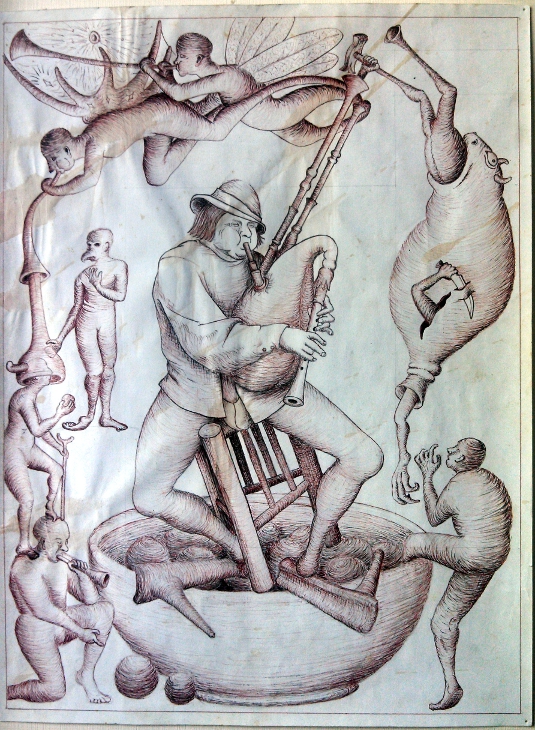
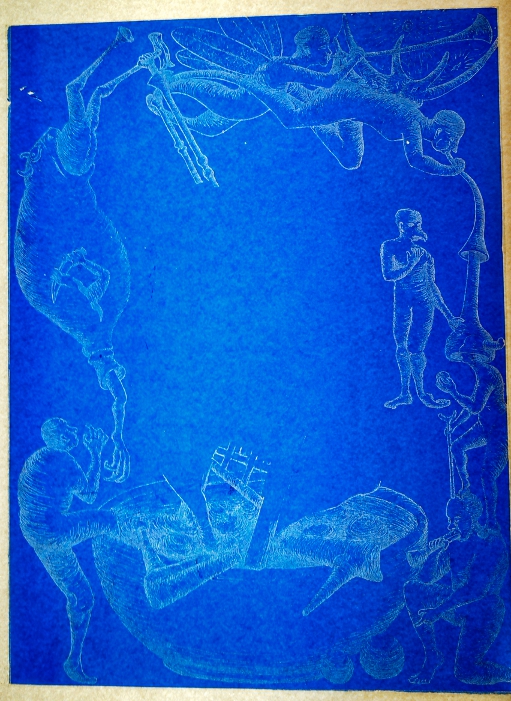
What follows are a few pictures to show some of the process mentioned above. From left to right are the finished drawing, the acetate transparency, and the photo etched ImagOn plate. A couple of notes on these: I spilled coffee on the original draft when I was about half way finished drawing it. This caused some light staining and wrinkling of the paper, but did not effect later parts of the process. I will post additional details of the transparency later on. The ImagOn plate turned out to be rather difficult to photograph - placing it on a light table helped, but I only got one picture that was worth using. As mentioned above, there was a second ImagOn plate to make the background "noise". I have not included pictures of that because it also did not photograph very well, and really does not look like much anyways.
For those who are not familiar with this ImagOn stuff that I've been talking about, now might be a good time for a brief explanation... ImagOn is a photopolymer film made by Dupont. It is prepared for use by cutting the amount needed from a roll and carefully laminating it to a piece of plexiglass. Care must be taken to avoid leaving air bubbles, dust, or other debris between the film and plexiglass - anything trapped between the film the plexiglass is very likely to leave holes or tares in the film when it is developed, or during inking or cleaning of the plate while printing from it. Exposing the prepared ImagOn film can be as simple as leaving it emulsion side up in the sunlight with small objects laying on it to create something like a photogram, or an image copied to a transparency could be used in the same way, but result can be inconsistent. A far more reliable technique for exposing the ImageOn film involves a specialized exposure table with a vacuum sealed frame. Several timed exposure step tests are often needed to figure out the right amount of time to expose the film. A longer exposure will print as a lighter image, short exposures produce darker images. After exposure the film is developed in a bath of soda ash. Areas which have been exposed to ultraviolet light will have hardened during the exposure process, while areas protected by something such as a transparency will have remained softer and able to be etched away by the soda ash... The plates can then be inked and printed, and that is my brief description of this ImagOn stuff.
![]()
Here are some details showing how the acetate transparency was put together. The transparency is made up of two layers - A twelve by sixteen inch sheet of acetate as a base; and I guess I could not get a digital printout or copy of my full drawing onto 12 x 16" acetate, or perhaps there was some other now forgotten reason that I cut up smaller sheets and pieced them together as I did. The first picture shows how I hid some of the seams in the lines of the drawing by cutting pieces to fit together like a puzzle. The second picture shows how the edges were taped up to keep the whole thing together. In theory this conglomeration of transparencies needs only to be durable enough to survive a couple trips into a vacuum sealed ultraviolet light table.
![]()
![]()
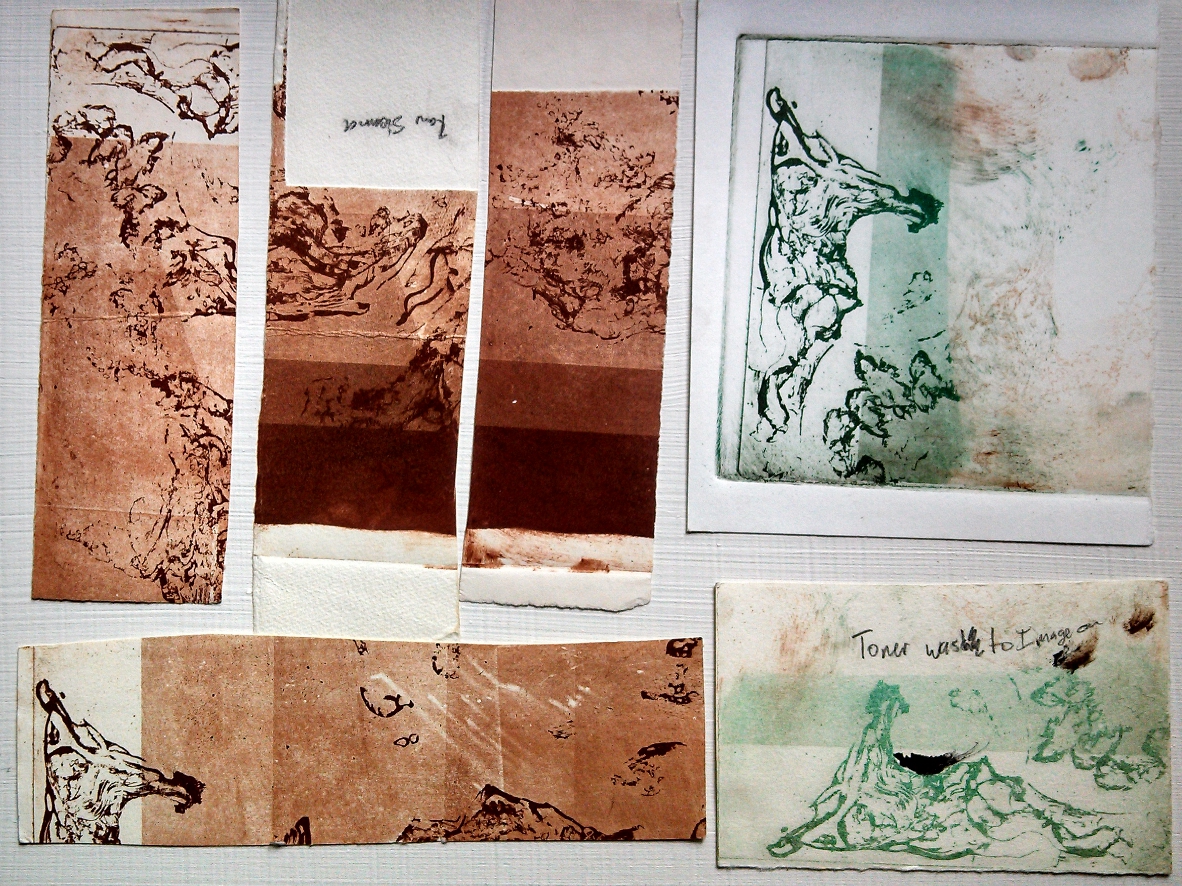
These two photos show prints from some of the exposure step tests I did for this project. The stuff printed in brown and green on scraps of paper are step tests for the plate that would be used to print the background "noise" textures. I have not really talked much about that plate yet. The transparency for that plate was made on a large sheet of acetate, with a copy of the drawing for the main plate under the acetate as a template so I'd avoid working into areas that would be occupied by figures in the finished print. I applied a light coating of petroleum jelly to areas I did not want the next step to effect. The textures were created by dribbling on old photo copier toner which had been thinned with denatured alcohol and tilting the piece in various directions until the toner had run all over. After the toner was dried I cleaned off the petroleum jelly and the transparency was ready to use as a resist for exposing the ImageOn film for the background.
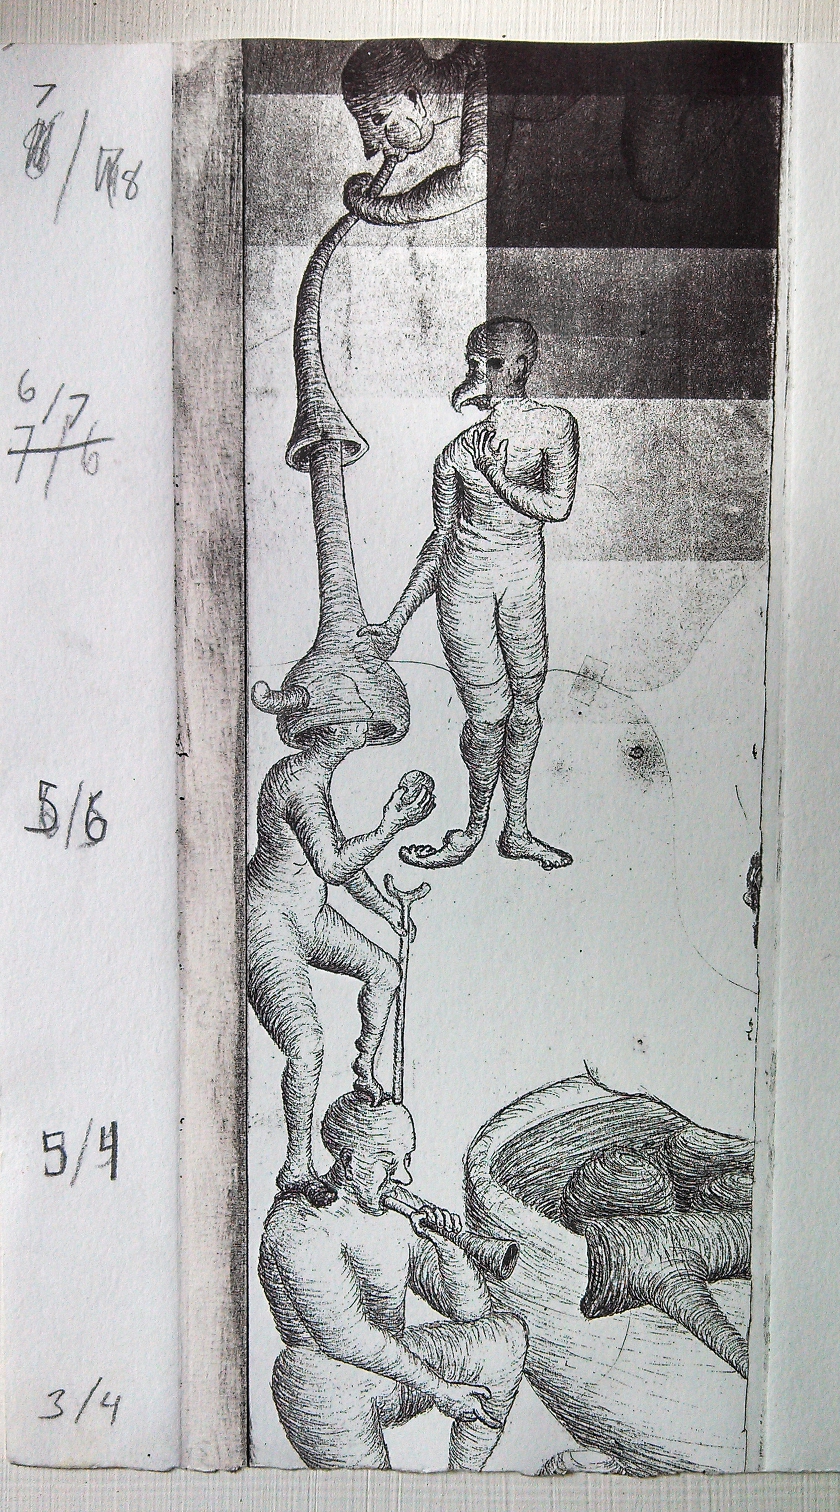
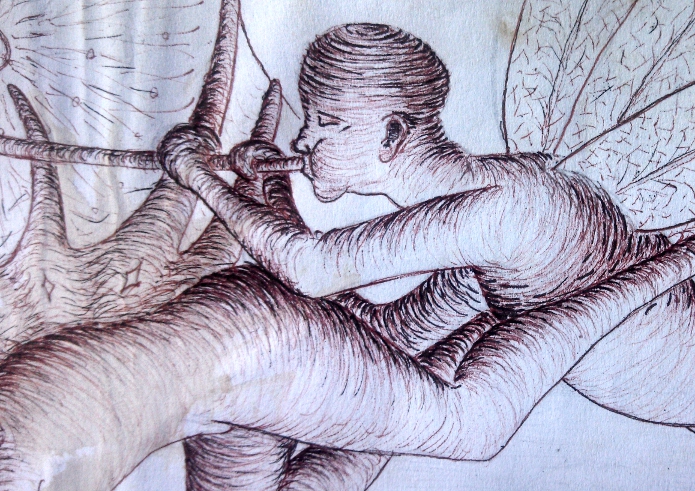
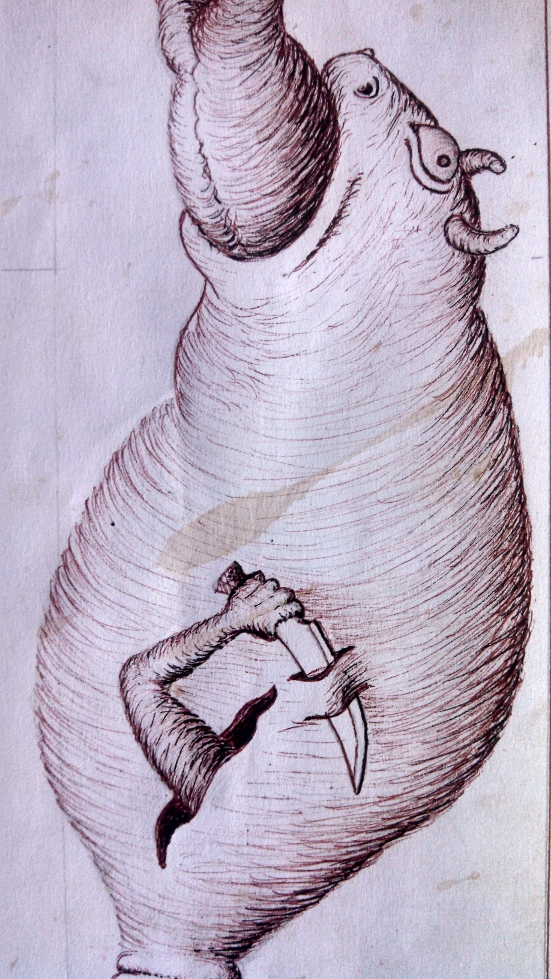
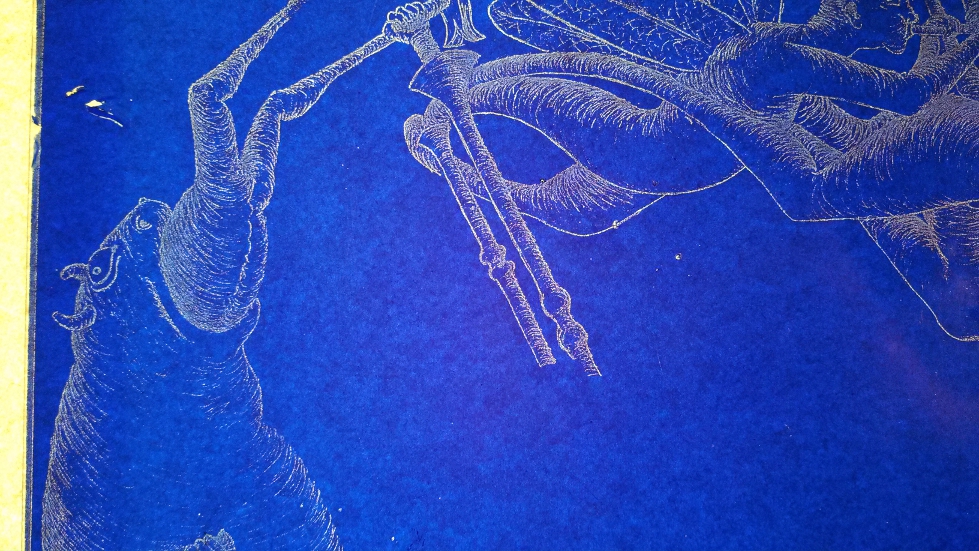
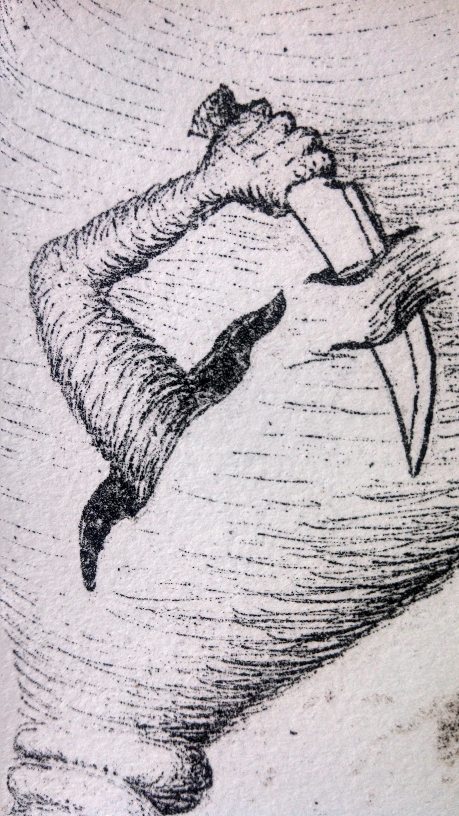
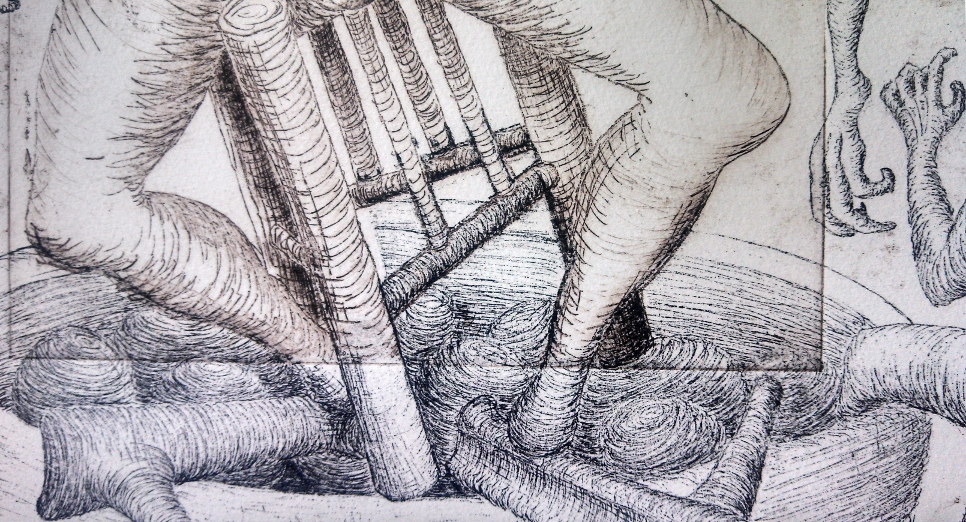
...and next we have a series of pictures to give a more in depth comparison between the original drawing, the ImagOn printing plate, and finished prints. Details from my original drawing are in the top row, a detail of the ImagOn plate is in the middle row, and some details of the resulting print are in the bottom row.
|
|
|
|
||

|
|
|
The last print detail shows some areas where proper registration of the print where troublesome, as parts of the ImagOn plate and the etched copper plate had to line up precisely.
NOTE: I plan to include a couple pictures to show the results of improper registration between the ImagOn plate and the etched copper plate.